Mastering the Art of DIY Eyelash Extensions: Expert Techniques and Tricks
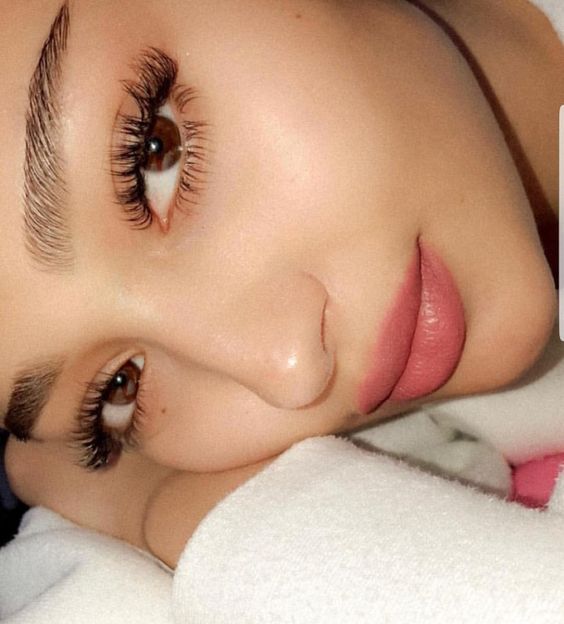
Eyelash extensions are the perfect way to transform your look, taking it from ordinary to extraordinary! But you want to make sure that the effect is so natural that no one will know you aren’t born with them. If you’re curious about the best way to apply false eyelashes for a more natural effect, then stick around.
In this post, we’ll break down exactly how to fasten these lovely falsies and have the best diy eyelash extensions onto your eyes in a way that even your closest friends won’t be able to tell they’re not really yours. So don’t settle for anything less than the perfect look – learn how to apply eyelash extensions like a pro and get ready for all the compliments coming your way!
1. Choose the Right Lashes for You
The key to achieving natural-looking eyelash extensions is choosing the right type for your eye shape and size. Begin by measuring your eyes and selecting lashes slightly longer than your eyes’ length. For example, if your eyes measure 2 cm across, opt for 2-2.5 cm wide lashes so they blend seamlessly with your natural eyelashes. It’s also important to choose a style that works with your eye shape; rounder eyes tend to look best with rounded styles, while almond-shaped eyes should select angled styles of eyelash extensions.

2. Prepare Your Natural Lash Line
Once you’ve chosen the right lashes, it’s time to prepare your natural lash line. Start by curling both your real and false eyelashes using an eyelash curler; this will give them a uniform curl and help them blend together more naturally once applied.

3. Apply lash glue
After carefully selecting your eyelash extensions to create the perfect look and preparing your lash line, it’s time to apply the lash glue. To ensure proper adhesion, use a small brush or applicator to cover the outer seam of the eyelash strip with the lash glue. This is important because it ensures that every bit of fabric on the lashes receives an even application for a secure bond.
Any glue left behind could lead to droopy eyes and a less-than-ideal final look.
Endeavor to be artful in the way you apply the glue and act quickly after so it can adhere properly. With careful focus and a steady hand, you can get your desired look without hassle!

4. Position the Eyelash Extensions
Once you’ve applied a thin line of lash glue to the edge of your eyelash extensions, it’s time to position them. Hold the strip using two fingers to carefully place it right at the base of your upper lash line to achieve the most natural-looking application. By resting the lashes against your natural eyelashes and skin, you can use them as a guide to make sure they are straight and in their intended spot. Need an extra hand? Ask a friend or use your fingertip along with two makeup applicators or cotton swabs; this will give you a better handle on how close they should be to your original lash line. With patience and gentle application, you should be well on your way to glamorously curled lashes that draw attention without looking too over the top!

5. Allow the Lash Glue to Dry
After carefully placing the lash along your lash line and adjusting the fit, it’s time to let the glue dry. This should take less than a minute, but if you want to expedite things, you could try using a blow dryer in a cool setting. Keep in mind, though, that airflow needs to be gentle to avoid ruining your eye makeup, and also make sure eyelashes aren’t too close to the heat source.

6. Apply Mascara
Mascara can help complete a false lash look and can be quite tricky with delicate lashes. Once the glue is dry and your fake lashes have been applied, it’s time to get bold with your mascara! Begin by wiping off any excess glue that may have seeped onto the lashes during the application process, then curl them with an eyelash curler if desired.
When applying mascara, use a small amount on a thin wand and gently wiggle it between both natural and eyelash extensions for an even coating. Remember to focus mostly on the tips of your (fake) lashes for optimal definition. One coat should be enough – multiple applications are unnecessary and could cause clumping or unevenness.

7. Don’t Forget the Eye Liner
After you’re satisfied with the mascara application, use liquid eyeliner to add an element of glamor to your look. Liquid eyeliner allows you to create a bolder and more dramatic line along the upper lids—perfect for creating a sultry evening look or going out on the town. All you have to do is gently apply it and ensure the line is even and crisp!
And there you have it: gorgeous, full-length eyelash extensions enhanced by beautiful mascara and liquid eyeliner!


xoxo


